Cloud computing isn’t just for massive data centers; you can bring the cloud home! With AI becoming more and more powerful each day, it’s crucial to bring this change closer to the actual consumer. While we have Phones, TVs, Computers, Alexas and what not, but today is the time we can buy brains, artificial brains. This brings me to my post, to research on this I needed a home lab and here I am documenting every step of it.
In this post, I’ll walk through setting up a small but powerful cloud environment using Raspberry Pi, K3s for Kubernetes, Longhorn for storage, and Cloudflare Tunnel for remote access.
Index
- Requirements
- Single-node K3s Setup
- Multi-node Setup
- Possible Errors
- Set Kubeconfig
- Mount external SSD/USB
- Setting up Longhorn for Storage
- Setting up Cloudflare Tunnel
- Conclusion
- References
Requirements
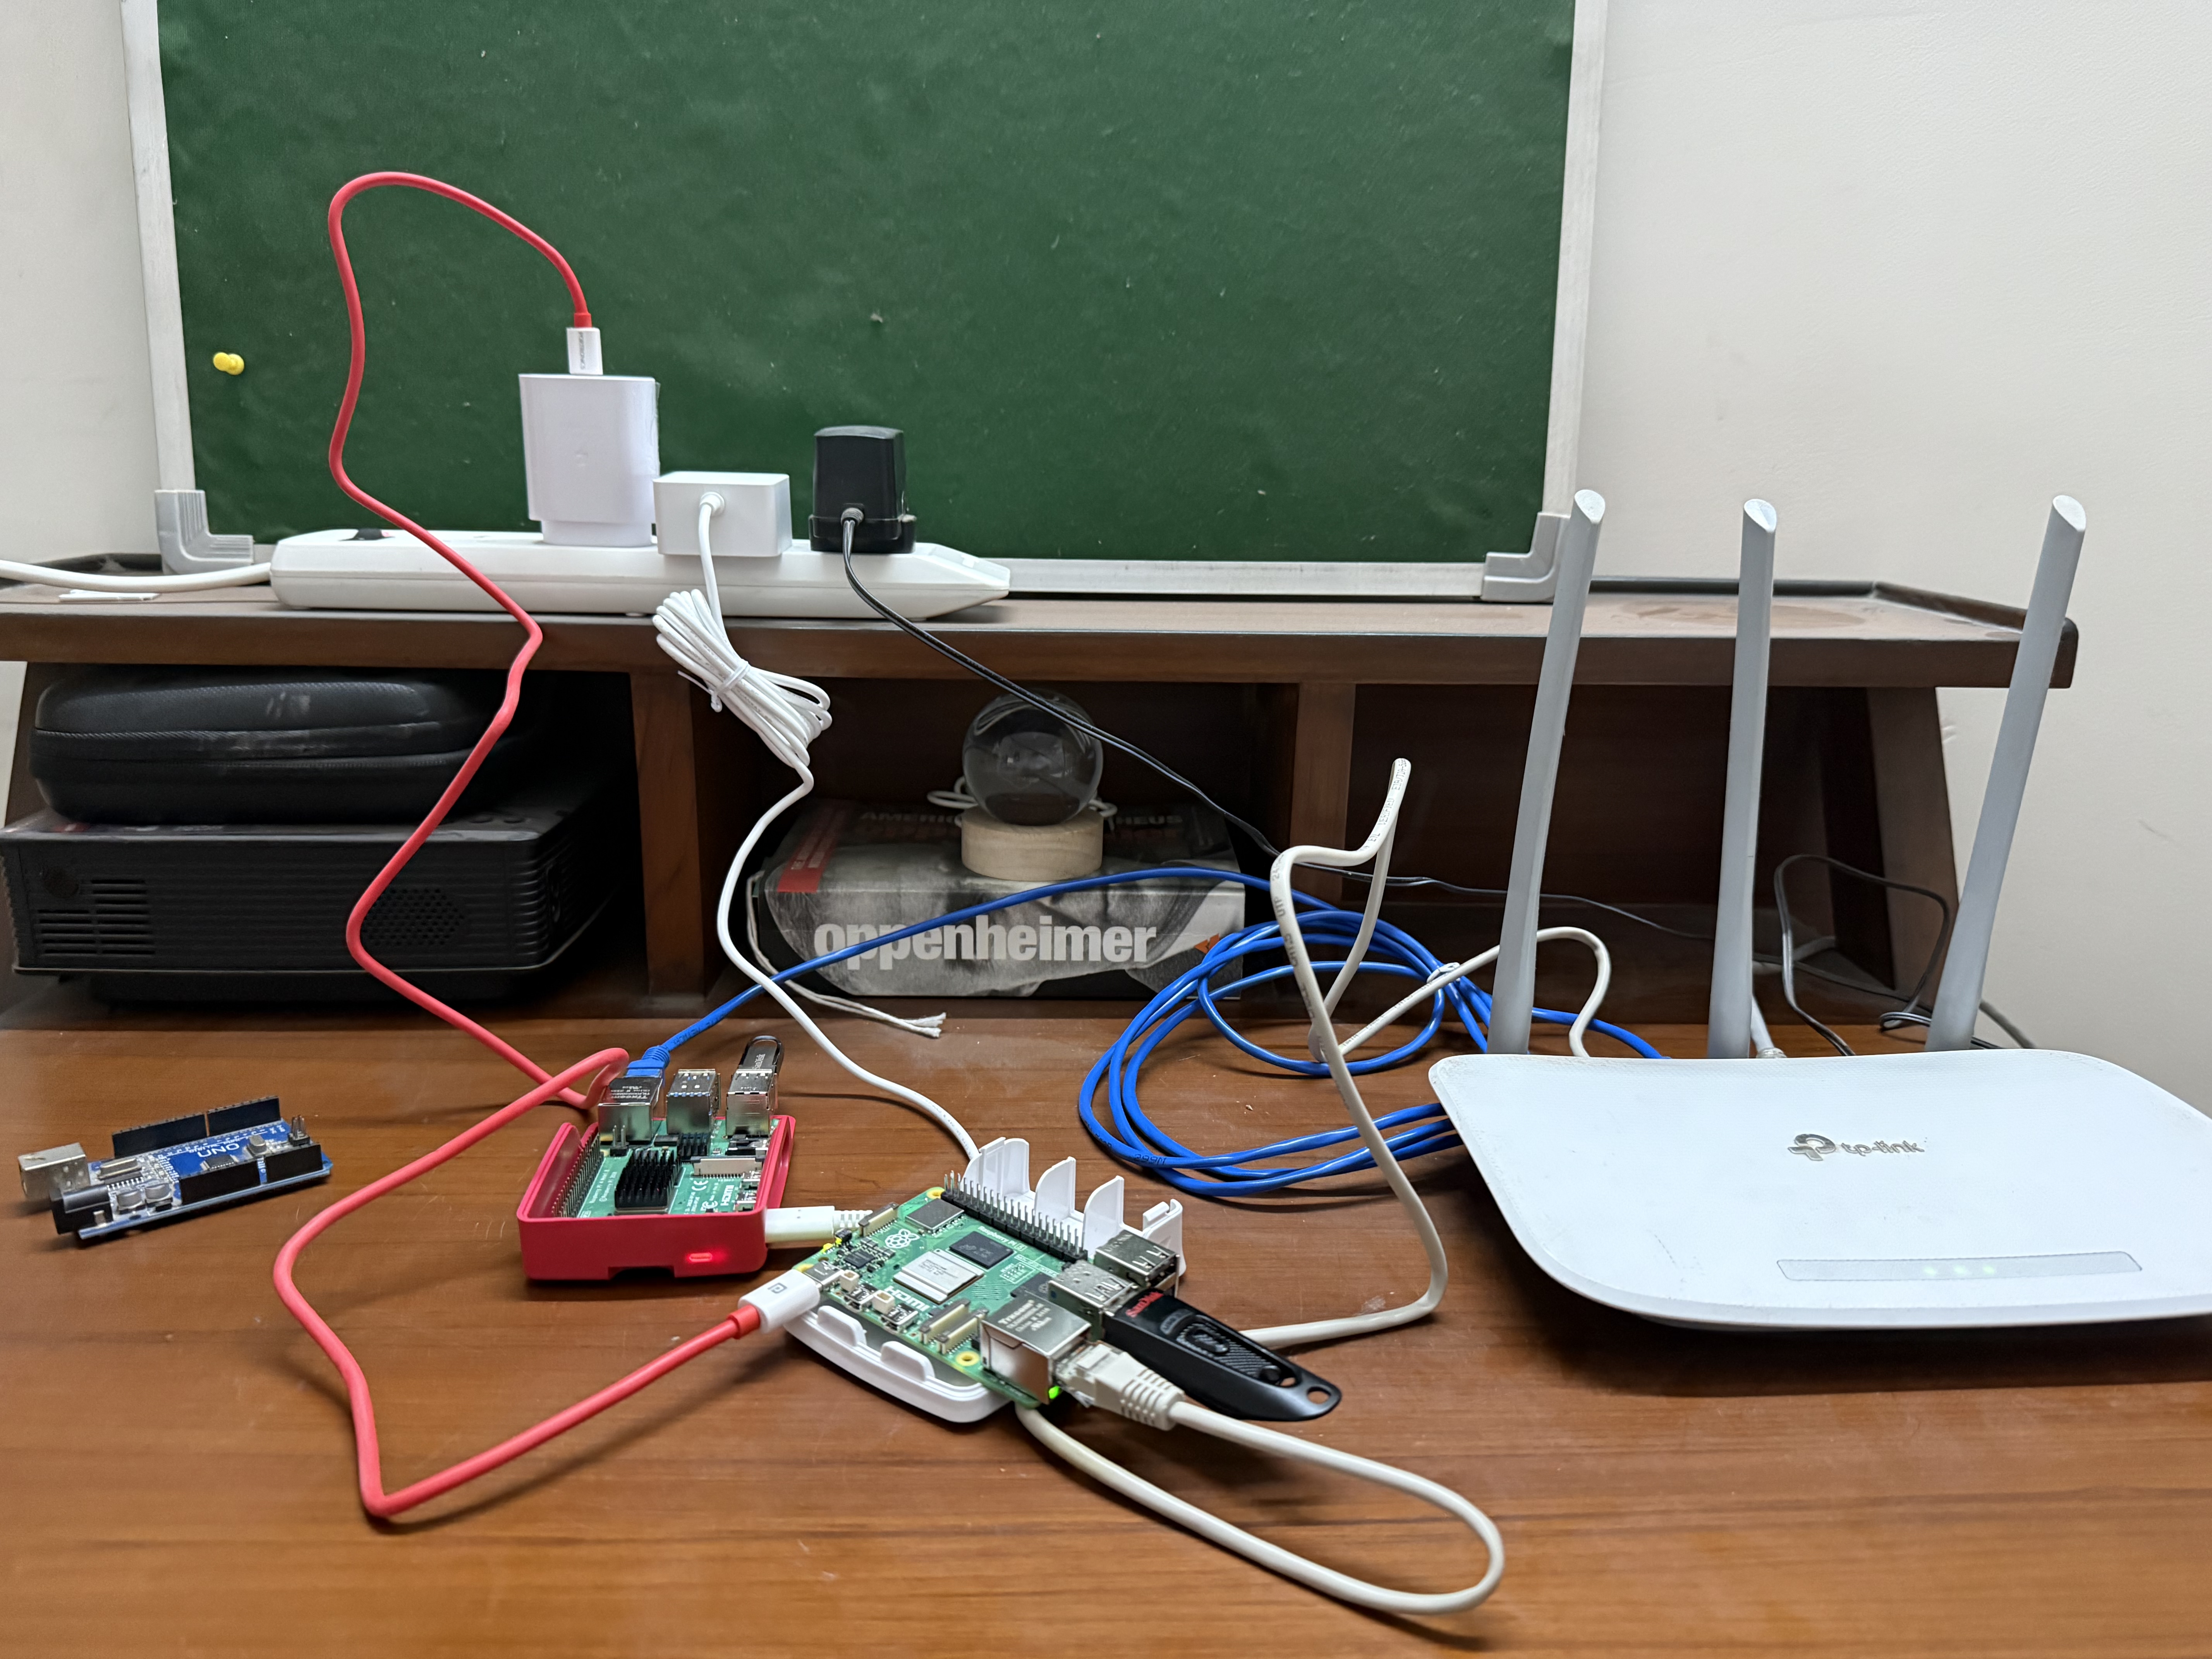
To get started, I purchased a Raspberry Pi from Amazon: here. You’ll also need:
- A microSD card (32GB or larger, preferably high endurance)
- A stable power supply for Raspberry Pi
- A good cooling solution (optional but recommended)
- An internet connection
Single-node K3s Setup
K3s is a lightweight Kubernetes distribution that runs well on Raspberry Pi. The goal is to have a unified API to deploy applications, making it easier to scale by adding more Raspberry Pis later.
curl -sfL https://get.k3s.io | sh -
sudo kubectl get nodes
Multi-node Setup
To expand your local cluster further to connect more devices or just have redundancy, install K3s agent on additional Raspberry Pis:
First, fetch the K3S token from the master node:
sudo cat /var/lib/rancher/k3s/server/node-token
Then, run the following command on each additional Raspberry Pi:
curl -sfL https://get.k3s.io | K3S_URL=https://<master-ip>:6443 K3S_TOKEN=<TOKEN> sh -
Replace <master-ip> with the IP address of your master node and <TOKEN> with the token you fetched from the master node.
Possible Errors
During installation K3S service might fail to boot, you can check the error using following
journalctl -xeu k3s-agent.service
you’ll find the following error
Mar 04 20:23:56 raspberrypi k3s[2006]: time="2025-03-04T20:23:56+05:30" level=fatal msg="failed to find memory cgroup (v2)"
To resolve this issue I updated the /boot/firmware/cmdline.txt and appended following
... cgroup_enable=memory cgroup_memory=1 systemd.unified_cgroup_hierarchy=1
Set Kubeconfig
To access the cluster remotely:
mkdir -p ~/.kube
sudo cp /etc/rancher/k3s/k3s.yaml ~/.kube/config
sudo chown $(whoami):$(whoami) ~/.kube/config
export KUBECONFIG=~/.kube/config
Mount external SSD/USB
SD cards are usually not fit for storage workloads, affecting performance and reliability. To mount an external drive connect it to your Raspberry Pi and use following steps
Format and Mount External USB Drive
To use an external USB drive for storage, follow these steps to format it to ext4 and mount it to /mnt/RPI_USB_1.
- Identify the USB Drive:
Plug in the USB drive and identify it using
lsblk:lsblkLook for your USB drive, typically named something like
/dev/sda. - Format the Drive to ext4:
Replace
/dev/sda1with your actual USB drive identifier:sudo mkfs.ext4 /dev/sda1 - Create Mount Point:
Create a directory to mount the USB drive:
sudo mkdir -p /mnt/RPI_USB_1 - Mount the Drive:
Mount the USB drive to the created directory:
sudo mount /dev/sda1 /mnt/RPI_USB_1 - Update fstab for Persistent Mount:
To ensure the drive mounts automatically on boot, add it to
/etc/fstab:echo '/dev/sda1 /mnt/RPI_USB_1 ext4 defaults 0 0' | sudo tee -a /etc/fstab
Now, the USB drive is formatted to ext4 and mounted to /mnt/RPI_USB_1, ready to be used by Longhorn as the default mount path.
Setting up Longhorn for Storage
Longhorn provides a nice setup to just use k8s PVC and have distributed block storage, ensuring that data persists across Raspberry Pi nodes.
Install open-iscsi
Longhorn requires open-iscsi to be installed on all the nodes of the cluster. Read here
sudo apt-get update && sudo apt-get install -y open-iscsi
Install Longhorn
Following is the helmfile.yaml that you can install on your cluster
repositories:
  - name: longhorn
    url: https://charts.longhorn.io

releases:
  - name: longhorn
    namespace: longhorn-system
    chart: longhorn/longhorn
    version: 1.8.0
    values:
      - values-longhorn.yaml
and the values file looks like
defaultSettings:
  defaultDataPath: /mnt/RPI_USB_1
Verify Installation
kubectl get pods -n longhorn-system
Setting up Cloudflare Tunnel
Since home IPs are dynamic, Cloudflare Tunnel allows secure remote access to our home cloud without exposing ports.
Install Cloudflare Tunnel
- Sign up on Cloudflare and add your domain.
- Install
cloudflared:curl -fsSL https://github.com/cloudflare/cloudflared/releases/latest/download/cloudflared-linux-arm64 -o cloudflared chmod +x cloudflared sudo mv cloudflared /usr/local/bin/ - Authenticate with Cloudflare:
cloudflared tunnel login - Create a tunnel and configure it:
cloudflared tunnel create home-cloud cloudflared tunnel route dns home-cloud <subdomain>.example.com - Run the tunnel:
cloudflared tunnel run home-cloud
Conclusion
With this setup, we now have a self-hosted cloud running Kubernetes on Raspberry Pi, with Longhorn for storage and Cloudflare Tunnel for secure remote access. As a next step, we can deploy applications and explore adding more Raspberry Pis for better reliability.